
Microsoft Teams is a great tool for online collaboration and communication, but it can also be a challenge for people who are deaf or hard of hearing, sign language interpreters, and others who use sign language. That’s why Microsoft has introduced Sign Language View, a new feature that helps signers keep one another prioritized in a consistent on-screen location throughout every meeting.
Sign Language View is a meeting experience in Microsoft Teams on Windows, Mac, and web that allows users to prioritize up to two other signers’ video streams for placement on centre stage. When Sign Language View is enabled, the prioritized video streams appear at the right aspect ratio and at the highest available quality. You can enable Sign Language View either on the fly during a meeting or as a setting that persists across all your calls.
Note: Microsoft does not provide sign language interpreters for meetings. Sign language interpretation should be arranged in advance by meeting organizers or participants.
How to Enable Sign Language View
To enable Sign Language View across all your meetings by default, in Microsoft Teams, select (Settings and more) > Settings > Accessibility, and then turn on Sign Language.
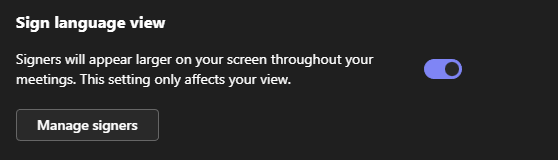
If you work with the same sign language interpreters inside of your organisation on a daily basis, you can list them in the Accessibility tab, so they always show up in the list of signers in Sign Language View. In the Accessibility tab, you can also turn on captions across all your meetings. Setting these preferences before a meeting makes it easier to join calls more quickly, so you can catch those first few minutes of chitchat or dive right into a deeper conversation.
How to Change Sign Language View Settings
You can assign sign language interpreters as priority people before your meeting. To pre-assign an interpreter prior to a meeting, the interpreter needs to be in your organization. Select (Settings and more) > Settings > Accessibility, and then turn on Sign Language To add someone as an interpreter, select Manage preferred signers. Start typing the name of the interpreter, and then select the interpreter from the list of search results. To close the Add people as signers window, select (Close). Changes to these settings will be saved across all your meetings.
You can also change Sign Language View settings during a meeting. To do so, select (More actions) > Show device settings > Accessibility, and then turn on Sign Language. To add or remove someone as an interpreter during a meeting, select (More actions) > Show device settings > Accessibility, and then select Manage preferred signers. You can also use this menu to turn off Sign Language View if you don’t need it anymore.
If your regular interpreter is outside your organization, you can still make them a signer within the meeting. To do so, select their video stream from the gallery view or from the participant list, and then select Make signer. You can also remove them as a signer by selecting their video stream again and selecting Remove signer.
How to Use Sign Language View Effectively
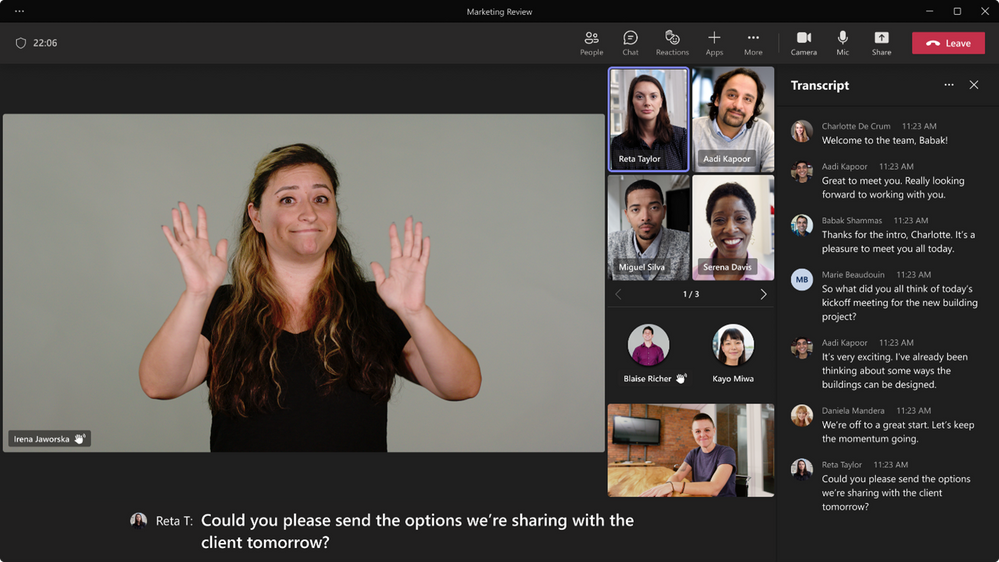
With Sign Language View enabled, designated signers stay visible on the center stage as long as their video is turned on. Other participants can also be pinned or spotlighted without encroaching on the signers. Enabling Sign Language View is a personal setting and will not alert other participants or change anyone else’s view of the meeting.
When someone shares content in the meeting, the prioritized signer’s video stays larger, more visible, and higher quality, but shifts to a different part of the stage. You can also resize or reposition the shared content window by dragging it around or using the zoom controls.
Sign Language View is designed to make your meetings more accessible and inclusive for everyone who uses sign language.
Leave a Reply